
This blog is about the How to Remove Green Screen from any Video. I will try my best so that you understand this guide very well. I hope you all like this blog How to Remove Green Screen from any Video. If your answer is yes then please do share.
The How to Remove Green Screen from any Video
Originally widely used by filmmakers, the green screen is now popular with YouTubers and gamers. Decades ago, you had to be a real expert in video editing to remove green screen from video. Nowadays, even beginners can quickly learn how to remove green screen from any video.
Make sure your green screen is perfectly straight while recording, to avoid having to deal with post-processing. If you are using Windows use VSDCC Video Editor and if you are on Mac use iMovie.
VSDC
VSDC was chosen because it is a free video editor that includes the Chroma Key (green screen) tool. Keep in mind that you will need to use a pure green background as this is the only one that the free version of VSDC recognizes. Here is how to remove green screen from video with VSDC Video Editor.
1. Background removal
First, add the desired video to the timeline by dragging it from its location folder to the left menu. Now go to Video Effects on the top bar, select Transparency from the drop-down menu and select Background Removal. Press OK. The background of the video that was previously green should now be removed (black). If the green background is still there, go to the right menu and Chromakey color, select the Eyedropper tool and click on the green screen area of your video.
2. Removal of the Extra Green
If the green background is completely gone, go to the next step. If there is a “little green” left in the video, go to the menu on the right and look for the following settings: Minimum Brightness Threshold, Maximum U-Chromaticity Threshold, and Maximum V-Chromaticity Threshold. First of all, try to increase all three parameters. If that doesn’t work, try changing them manually until you’ve removed the remaining green dots.
3. Adding image / video to replace the green screen
To do this, simply drag the desired photo / video to the black space where the green screen was located. Now click on the original video, select Choose command, then One Layer Up. This will place that video in the foreground and the photo / video you placed where the green screen was will be placed behind it.
iMovie
iMovie is a free Apple app that has the option to use the green screen or blue screen to present another photo or video. It is a fantastic app that gives you a lot more options than the VSDC video editor mentioned above. Here’s how to remove green / blue screen from video using iMovie.
1. Adding a green screen video
First, load a clip into the iMovie app. Then use the timeline to select a clip or range that you have shot on the blue or green background, then click and drag it, hovering over the clip. Wait for the green Add (+) icon to appear, then release the mouse button. Find the video overlay controls and click the Video Overlay Settings button.
2. Editing the video on green screen
In the viewer section, you will see that the clip that was shot on the green / blue background will have the green / blue removed, replaced with the clip you chose. You can reposition the green or blue screen clip, you can drag it to another place in the clip, lengthen / shorten it, or drag it to another clip. When you are happy with how things look, click the Apply button to apply the changes.
Now use the video overlay settings to adjust things like smoothness, to isolate areas of the clip with the Crop function, to clean up areas of the chromakey video, etc. Click Apply in the controls section of the green / blue screen to apply the changes.
Troubleshooting
If the video on the green screen shows wrinkles, you will need to either get another green / blue surface that is completely straight or mess up the edit of the video until it is as polished as possible. As a general rule, the better the camera you use for recording, the more ideal the green / blue background should be.

If you want to learn even more how to edit video, you can play around with the editing controls and check out the video tutorials available online. Learning how to edit video isn’t too difficult these days.
Other softwares
Both tools mentioned are free and useful, but there are many other paid tools that can help you remove green / blue screen, give you even more options and a smoother user experience. For example, Adobe After Effects allows you to automatically smooth the green screen using the Contour Feather tool. On the other hand, Camtasia, one of the most popular video editing tools among YouTubers, allows you to select the color you want to remove, giving you even more options.
Green screen videos
Green screens are very popular nowadays, especially due to the fact that the necessary video editing tools that allow the user to delete and edit composite videos are completely free. Of course, you can always go into more detail, but if you’re not aiming for perfection, VSDC and iMovie will do.
What video editing tools do you use to remove green screen? Which do you find the most effective? Do you have any useful tips for newbie video editors? Please feel free to check out the comments section below with your tips, thoughts and ideas.
Benefits: How to Remove Green Screen from any Video
- The How to Remove Green Screen from any Video guide is free to read.
- We help many internet users follow up with interest in a convenient manner.
- The price of the How to Remove Green Screen from any Video guide is free.
RELATED ARTICLES
How to Add Background Music to Video on Computer, Mobile and Online
Best Video Auto Subtitle Generator Software Online and Offline
How to Add Text to Video Online With No Watermark
Gihosoft Free Lossless MP4 Cutter
The easiest two-in-one free video trimmer and joiner software
1 Cut video and audio without decreasing the quality
2 Easy to use, fast import and quick output
3 Accurately control every second of the range for cutting
4 Support various video and audio formats
5 100% clean and free video cutter

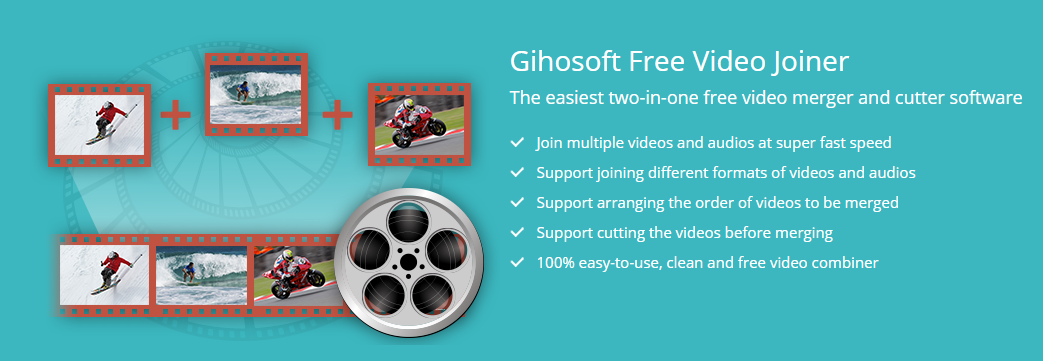
Gihosoft Free Video Merger For PC
The easiest two-in-one free video merger and cutter software
1 Join multiple videos and audios at super fast speed
2 Support joining different formats of videos and audios
3 Support arranging the order of videos to be merged
4 Support cutting the videos before merging
5 100% easy-to-use, clean and free video combiner
Remove unwanted objects from photos free without impacting the background!
Jihosoft photo editor software helps you emphasize what’s interesting in your photos by removing distracting objects seamlessly.

Comments
Post a Comment